Showing posts with label landscape quilt construction. Show all posts

Friday, February 2, 2018

"Memories that Linger"...Part 5: Outlining the Cabins and Auditioning Fabrics

After the cabins were "built", it was time to add the leading...this will be a stained glass style quilt, after all.

Adding the leading to Cabin #1

To learn how I do this technique, pick up a copy of my book, Allie Aller's Stained Glass Quilts Reimagined, from C & T Publishers, April 2017.
As you can see from this detail image below from one of my quilts in the book, you can get very articulate with this leading technique! 

Detail from "The Parish Farm", pg 43 of my book. This section is 16" X 25".

To prepare the "tree fabric" for my large hanging, I felted some strips of cotton base fabric with hand-dyed wool and silk roving.

Roving fibers laid out on a cotton base for felting.

Once the cabins were leaded and the tree fabrics were ready, I pinned everything up on the design wall, directly onto my paper pattern, with some of the other background fabrics too, just to see how they might work.

Trees, leaded cabins, and woods/foreground fabrics pinned into place.

There is much work to be done, of course, but this was my first glimpse at how my piece might come together.
It's very encouraging!

But it will have to wait a few weeks, while I am off on an adventure.....

Sunday, January 28, 2018

"Memories that Linger..." Part 4: "Building" the Cabins

The focus, heart and soul of this project for Camp Newaygo is the grouping of these three old cabins.  They are driving the entire piece, so I wanted to "build" them first.

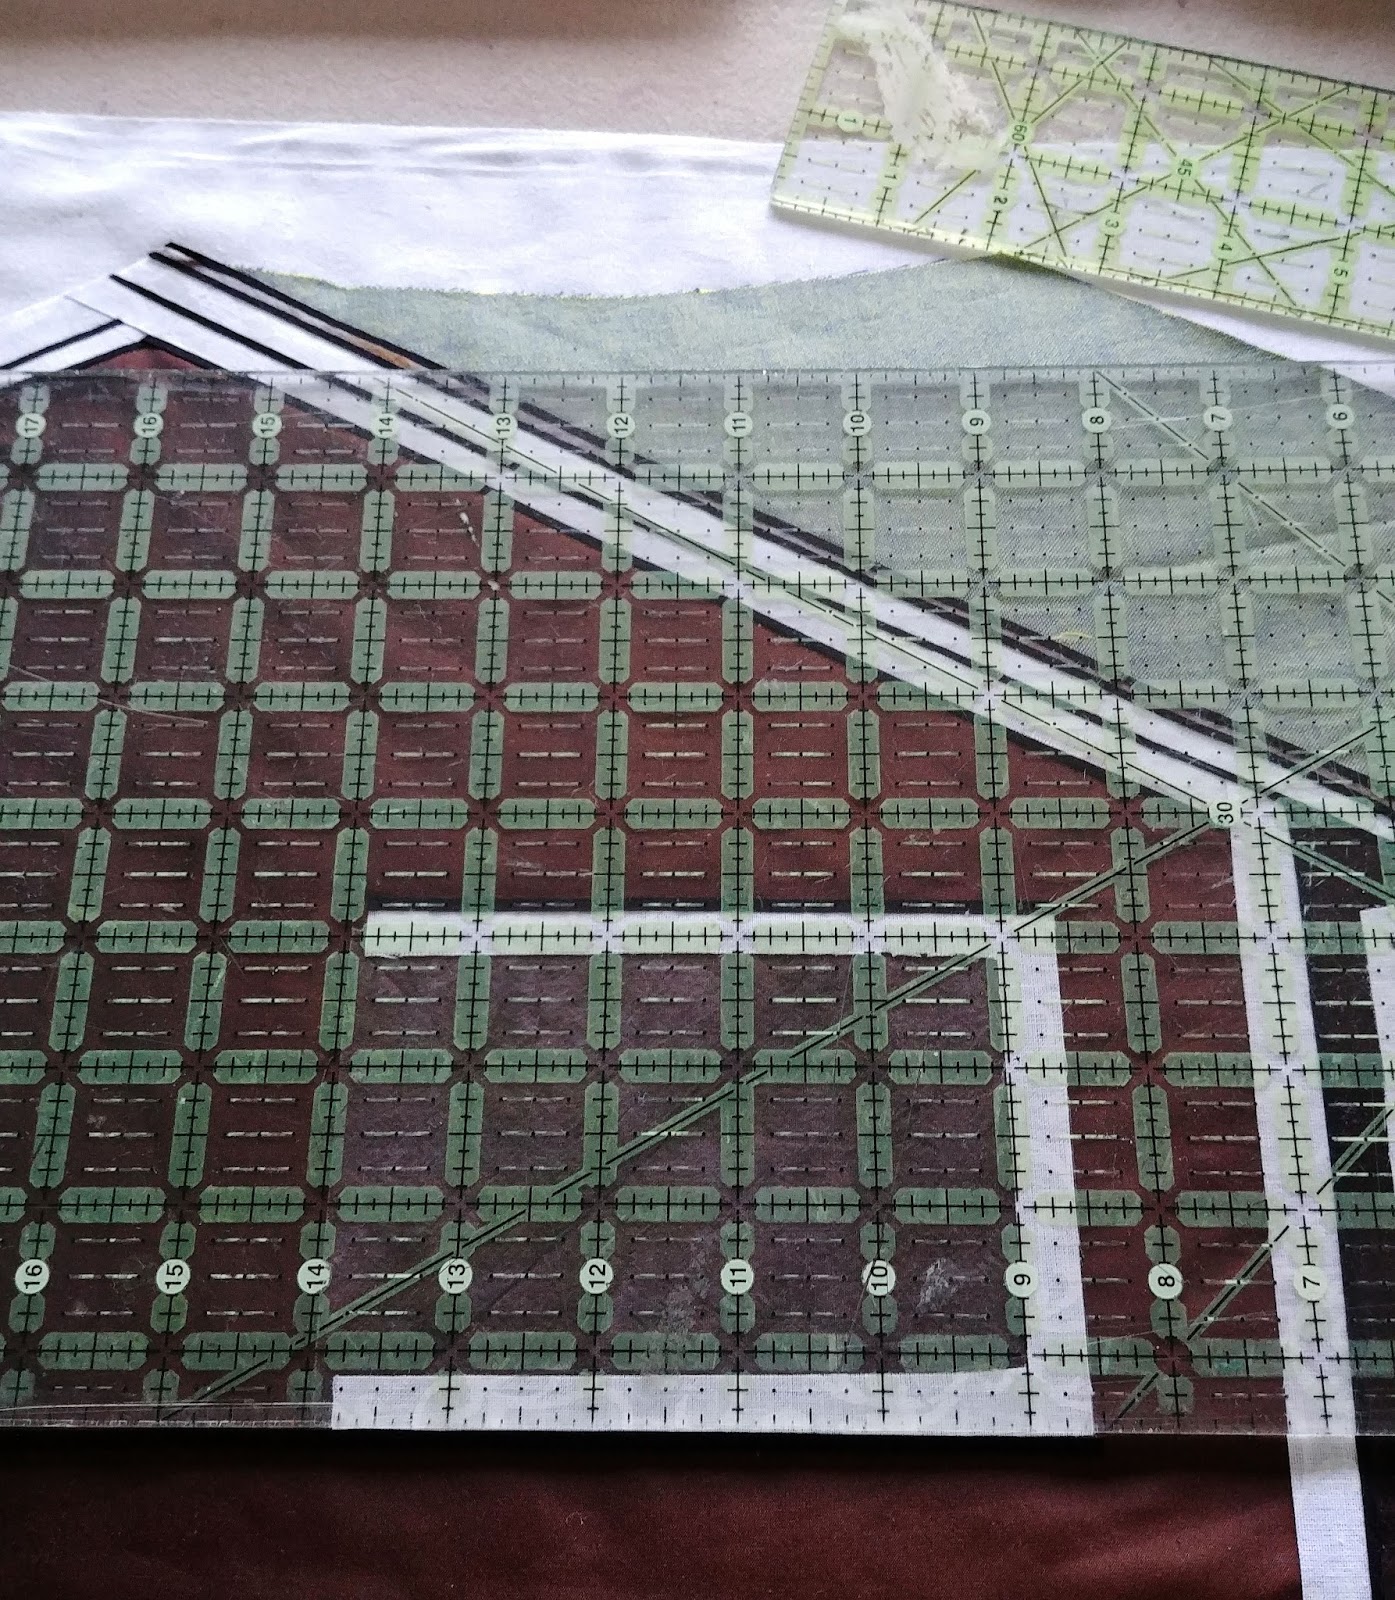
Here are some of my construction tools!

 Spray adhesive, masking tape, marking tools, exacto knife, gluestick, rotary cutter, magnifier, remotes, scissors, ruler, cutting mat

I've been wanting a large lightbox for years, and this project was just the excuse I needed to finally buy one, from Amazon.
In the photo below I have placed the area of the large full scale drawing I wanted to trace, the cabin (#9) on the right, over the lighted surface.  Over it is a layer of muslin, which will be my foundation fabric.  Having the design traced on the muslin will help me orient placement of my cabin fabrics as I collage them into place.

 Muslin over pattern on lightbox, with photo nearby for reference as I trace.

The next step was to again trace the cabin design, but this time onto freezer paper.  I use this to sometimes cut out actual templates, sometimes for tracing a specific shape onto tracing paper for then cutting out a shape, and sometimes to help me place an element exactly on the collage.  

 Cabin #9 design traced onto freezer paper.

The big pieces go on first.  Everything has to be lined up as perfectly as I can get it.

Cabin #9, under construction.

After much trial and error, I learned that the best way to make those window frames was to cut them up from a single piece. Using the exacto knife made this possible. Because these frames are so delicate, the white fabric has been prepared with fusible web.  This prevents the fabric from fraying and also assures the frames will stay put when I have positioned them exactly where they need to be.


Cutting out the inside of the window frame, through the tracing paper.

Another helpful discovery was to use the holes from the windows cut from my freezer paper tracing to help me "register" their placement onto their background fabric.  (Alas, the lightbox could not shine through dark brown silk taffeta to help me see the tracing on the muslin.)  This worked really well.

Placement of three windows using the freezer paper.

The picture below shows Cabin #3 well underway.  (Sorry it is so blurry.) Some of the pieces are held in place with spray adhesive, others with fusible web, and others yet with gluestick.  It just depends on the situation.

 
Cabin #3, the collage underway. 

I was constantly referring to the printed photograph I am basing this composition upon, using that slick lighted magnifing glass to peer as closely as I could into the actual construction details, especially of the railings and the steps.  I really want this to read properly.  The eyes of my future viewers will catch anything false!

 Magnifying the steps on Cabin #1.

I learned so much while making my first Cabin #1, that by the time #2 and #3 were done, my original Cabin  #1 looked pretty rough in comparison, so I did it over. There will be trees added in the foreground in front of the cabins and behind them in the background, which will help seat them into place.  Right now they look like they are floating. Of course there will be the foreground area with the picnic table too, but that will be created last.  In landscape quilts I always work from back to front.

 Cabins #1, #2, and #3, collaged on muslin foundations and taped into place on full sized pattern.

This was painstaking work, but I really enjoyed it. 

The next step is to add the "leading", that is, the black outline, around all my shapes on these collages, because this commission is going to take the form of a stained glass quilt.  But I am going to let these rest for a day before tackling that--it, too, will be a demanding and painstaking process.

Then I'll be able to start in on the background woods. That will be much more spontaneous!


Saturday, December 5, 2009

"Love by the Moon"...Day 1

My nephew Andy is a force of nature. How many stories I could tell you about him! From his childhood he was a complete heller who broke more stuff and went to the E.R. the most of any of the kids...he pushed my buttons like a Master, causing me to scream dire threats at him, which he thought was funny (he did say, "Aunt Allie is the worst cousin ever.") He almost died as a young teen from an allergic reaction to a vaccine that resulted in his having to endure a bone marrow transplant. Yes, we almost lost him...
He blew off high school but managed to graduate anyway due to a clerical error in his favor.
Andy... So much untamed energy.
But so much heart.
Sometime along the way he made up his mind to become a fireman. So he channeled that incredible will of his and:
--went to his local Community College, got his EMT, and then went through the Fire Academy
--drove ambulance in South Central LA to pay for school and gain experience. He told his mom once, "Yeah, it was a brains in the hands week-end...."
--graduated from a Paramedic program last spring gaining the top class honor of "Best in the Field" (meaning, if you have a heart attack, you want Andy as your first responder).
--Laughed at the impossible job market and got hired by his local fire department, straight out of school.
His first day on the job he saved a baby's life. That's Andy.

This picture was taken the day he graduated from Paramedic school. He's 22.

So he called me yesterday.
He's in love.
He is commissioning me to make the Christmas present he wants to give to his new girlfriend. "I want to score major points with this one," he told me.
She has a saying she loves, "Live by the sun, Love by the moon"...and I guess they've enjoyed some special moonlit nights on the beach. So that's what my commission piece is about: the beach at night, with those words on it.
"I trust you, Aunt Allie, do whatever you want...."

Luckily for both of us, I have a window of free time over the next week, so today is Day 1 on "Love by the Moon".

This is where I am at the very beginning.
I'll be posting my progress at the end of each day, so stop by if you like....

Next week-end I will be delivering it to Andy in person in San Diego. Maybe I won't be the worst cousin ever anymore!

Friday, November 14, 2008

Cottage CQ...Piecing/Appliqueing Finished

Esther gave her take on the composition of this piece in her comment in the previous post. I appreciated her candor, thoughtfulness, and also the fact that I agreed with what she said. (I appreciate everyone else's comments too. Thanks so much...)

Composition has been the A Number One Issue of this project, really the toughest challenge I've taken on in my crazy quilting life. And there are some things I am not happy with as things stand now.

But....

The great thing about crazy quilting is that the fabrics as pieced or appliqued to form the quilt top only serve as the background to what happens with the embellishment. Lots, if not most, of compositional decisions can be made "after the fact" of the fabric placement.
So I have hopes that I can mold this more to my liking, strengthen it, and alleviate the trouble spots, the main one of which is the transition between the beach and the midground. And I have some ideas for that, fortunately!

So with everything finally sewn down I was able to pin it up on my design wall and get a good look at it.

The corners are not finished of course, but this is the main body of the quilt.
It is hard to imagine this covered with embroidery. It seems finished as is, in a way.
But it's not. There are going to be some trees added for sure...and grasses...and bubbles....and of course the cottage will be embroidered...and...?
Your guess is as good as mine.....

Wednesday, November 12, 2008

Cottage CQ...Further Progress

I am at the assembly stage of the different sections.
But before I show the overall view as of today, I thought I'd share another little piecing tidbit.

I like to layer fabrics and piece them as one sometimes, when the top fabric is sheer or loosely woven.

You don't have to use the 505 Spray here to temporarily hold the two fabrics together, but I like it because it prevents wrinkles or shifting of one fabric or the other while piecing with them.
So I give a quick spray to the bottom fabric, and then iron the top one over it.

Then I cut it to size....

...then sew it in place, and iron the heck out it (which hasn't been done here yet).
It's a simple way to get some extra texture in there.

As I began to work on the beach section, I realized I didn't quite have the imagery I needed. Part of the fun of this project is printing up the fabric as I need it.

I especially needed more sand. So I made some!

You can see where I am starting to play with it here.
That white squeaky sand on the shores of Lake Michigan just can't be beat.....

Before I could finalize the wavy section, I felt like I had to get the rest of the quilt top assembled, so I could really see what I had to work with. So I began hand appliqueing my "chunks".

You can see this one is ironed, pinned into place, and ready for some stitching.
I have to say, the inkAid coated cotton prints are a beast to stitch through. Too bad, that, but oh well.

So here I am as of this morning....

The midground chunks are pinned in place and ready to applique. The wavy section has been partially sewn but is actually quite unresolved and could change quite a bit....the newly printed beach might even have to go.
This process has been a good test of trying ideas out and then letting go of them again. And again. And again. They break like waves....!

Sunday, November 9, 2008

Cottage CQ...Midground Pieced (Mostly)

It's coming along, but is pretty exhausting work! This is mostly because I am having to invent my sewing strategies as I go along, all the while shaping the composition as best I can in the process.
There seems to be a large oval developing in the center, which I like, but I am not going for symmetry either.

One tool that's helped a lot is my laptop! I would try different fabric arrangements of the grassy midground area, photograph them, then look at the image "reduced" on my laptop.

This helped me see where I wanted to change the value of an area, or how I wanted the waves to flow, or if some color was a little "off". It was a good way to audition fabrics.

This was the final "lay out". I decided I wanted the waves and beach to flow around and down.
Then I spent part of yesterday and today sewing that midsection.

This part was definitely the most difficult area to sew so far. I'm getting the look and feel that I want, though, which is what keeps me going.

That white area above the waves along the bottom is going to be a big foamy wave with lots of heavy white stitching, bead and crystal bubbles, like it is breaking on the shore. It balances out the white in the sky above the cottage, and also will be a great challenge! Because it will have the heaviest embellishment, that should make it "read" smack in the foreground.

I hope to get my beach "chunks" pieced tomorrow. Then will come the very slow and careful process of fitting and sewing them all together by hand.....

Friday, November 7, 2008

Cottage CQ...Woods Pieced

What a piecing adventure this has been! I've got the woods section laid out and sewn (but not to the foundation yet).
There were a few tricks along the way that I'd like to share with you all...

One concerns getting that perfect piece of fabric, the right value and exact color, on the spot as I needed it.

I liked this green tone on tone print here, but it was too blueish. Dye-Na-Flow to the rescue! This took all of 30 seconds.

Another little trick helped me piece fabrics of quite different weights and weaves together without ripples or distortion.

That is some fusible interfacing cut to size and about to be ironed onto some lightweight, wiggly silk. I especially needed the silk to behave because it has a tree trunk printed on it, and that trunk had to stay straight.

There was some contortionist sewing involved, I must say.
Most of the time it went o.k. Here is a series of pictures that shows one tricky place I got out of...it was pretty high stakes, too!

This tree photo had to fit into that irregular shape to the left. In this picture I have traced over the shape with yellow quilting paper (known back in design school days as "trash paper").

I slipped my print behind the traced shape and just cut it out from underneath, adding seam allowances all the way around.

As an aside......I was able to do this because the fabric had been treated with a pre-coat called inkAid before printing, and the inkAid made it fairly stiff. This pretreatment gave me brighter colors and sharper detail in my prints which was great, but I sacrificed the "hand" of the fabric in exchange. When I go to embroider through it I will be punching little holes through the coating. Worth it though, in this case. I didn't use the inkAid for the grass and beach prints, as I want those soft and the detail there isn't as important as in the leaves, pine needles, etc.

OK, back to insetting this shape....

I was slightly nervous about pulling this off, I admit.

When piecing a large complex shape like this, I start in the middle and sew first one side and then flip it around and sew the other, from the center.

Not too bad here! Those two inner corner areas are a little bulky and got slightly munched, but nothing a hot iron and some hand embroidery over them won't solve.

Here's a detail shot from the other side of the quilt. I was as careful as I could be to keep all those tree trunks paralell.

And here is where I am as of now....

I'm using a different print of the cottage, one that isn't shadowed across half of the front. I like that tree in the foreground, too.
Overall, this section is about 26" X 40". Next will be the grassy section, and finally I'll get to do the beach (that's desert).
I will sew the whole thing completely together before I start any of the embroidery.

Actually, the embellishing is the desert part, isn't it?

Wednesday, November 5, 2008

Cottage CQ Underway, Take 2

I was fully expecting a false start on a project as large and difficult as this one, and yesterday was it. Worked all day, then ripped everything out before going to bed.

I realized first of all that this quilt has to be constructed as a "whole cloth"...I need to see it all at once as I am working on it.
Which meant I needed a wider table to lay it out on as a whole, as the design wall is too vertical. (!)
Which meant I needed to rearrange my sewing room.

I also realized that I need to piece this in "chunks", without a foundation. The large chunks will then be hand appliqued down onto one large foundation.

I had trouble integrating the sky section with the tress, so decided to change my approach to that, too.

All in all, a profitable day spent, as today things flowed smoothly...

I moved my big architect's table to the center of the room, and the narrower table into the corner. I have made many quilts exactly the size of that oak table top. What a coincidence!

Here is the beginning of a "chunk".

And here it is completed. The big tree next to it will remain intact...some imagery needs to be kept whole for compositional purposes, plus I like the differences in scale this gives me.

My second chunk of the morning. I think leaving visual cues like those vertical white pine tree trunks helps gives a coherent illusion of woodlands. And those white pines are so special to me....

So we can start to see where this is going....!

Tuesday, November 4, 2008

Cottage CQ Underway

This work is the absolutely perfect antidote to Election Day for me....

After getting my sewing room squared away for a new project, I've been giving a lot of thought to how this process is going to go. It's different because of the printed imagery, but also because I'll be constructing the quilt in three panels, almost like three "whole quilt" sections, not in blocks.

Immediately I realized there would be some machine piecing, some fusing, and some hand applique...I'll have to bring out the entire toolbox to shape this the way my mind's eye sees it.

I obviously don't depend too much on detailed drawings.
The design wall was a good way to rough things out, though.

The water is going to flow upward to the left, forming an arc with the sky...
There are so many viewpoints and different kinds of lighting in the photos that getting them to read as a single picture will be challenging...

I've got my palette of crazy quilt landscape fabrics where I can see them and get to them...

...and my work area is set up....

I am inaugurating my shiny new Pfaff from the "My Quilts/Our History" contest, too!

So off I go....

I always start my landscapes with the object farthest away and build outward from there, toward the viewer. In this case that object is the summer sun.....

...And no matter what happens today, God Bless America!

Monday, October 27, 2008

CQ Landscape...A Warm-Up

For the past year I have been mulling over how make a crazy landscape quilt.....I'm finally starting to get a handle on it so have been playing with a practice piece to get things rolling.
Newer readers might like to check out these pages of my website. They show a good sample of my landscape "phase" as a sane quilter.

I know that I definitely want to combine printed photos on fabric with more traditional CQ type fancy fabrics, soI dug into a small pile of "reject" prints that went into the mix below. This little piece is about the fall trees...and the wind that gets the leaves blowing across the sky....

This measures 16" X 24".
"Om Tat Sat" is Sanskrit and can be translated as "Supreme Absolute Truth". I always feel God in the sky. There is a wonderful saying, "I drink Thy power from the mighty cup of the wind..."
It's been really windy around here, too!

Those brown limbs are a fabulous chenille yarn that has been felted in place with the Babylock Embellisher. Thanks, Leonie, for that great yarn!

Then I used the embellisher to "felt applique" the leaves down...except for the shiny ones. Those are holographic lame that have been fused in place.
I've embroidered some finer detail on some of the branches, and am trying out some simple stitches along the seams in the bottom right section.
I just want to see how to combine these different elements.

Oh, and just for fun, here is basically the same quilt from 1997...

It is 16" X 19".
I guess the more things change, the more they stay the same...