Showing posts with label Technique: Broderie Perse. Show all posts

Tuesday, December 9, 2014

"My Secret Garden" project...finished!

This quilt is for the Personal Apps exhibit at the upcoming Road 2 California quilt conference in Ontario, CA next month.

The exhibit is here described:

Personal Apps
An App is defined as an application, typically a small, specialized program downloaded onto mobile devices. Artists invited to participate in this exhibit have created small quilts that represents them as an individual. The quilts show an aspect of their life or their identity. Curated by Matt Reese and Stevii Graves. 


Each quilt is to be 36" X 36".

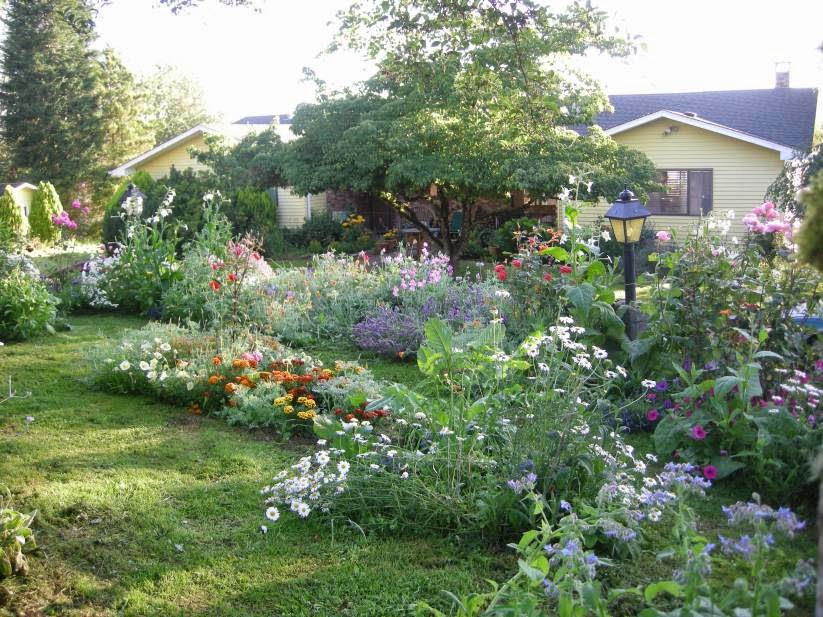
Gardening makes me so happy.....so I guess that is a major aspect of my life and identity.

Last summer's garden really gave me so much joy.

What follows is a pictorial chronology of my quilt's construction over the last month...

It started with my review of Sue Reno's DVD on surface design.  You can read about it in this post.
I knew I wanted some lacy clouds, so with Sue's guidance, I printed some, using acrylic paint mixed with fabric extender.

I printed up a bunch.

I also painted some flowers, both pre-made fabric flowers and fussy cut printed flowers from quilters' cottons.  

 I'm so glad Sue's DVD encouraged me to get out those paints!

Then I began my initial lay-out....

The finished quilt actually bears quite a resemblance to this!

The foreground and sky sections were appliqued over a muslin foundation first--then I started adding layers of clouds.  That vintage delicate doily was meant to be the sun...

After this sky area was settled, the garden was laid out the same way, with a few large swaths of green.

Then the layers of flowers went on.

This photo shows a few of the techniques I used for the garden.

I did most of the embellishment work by machine, though.  Those large three dimensional daisies are vintage appliques.

After some initial quilting in the sky, I decided the clouds needed more texture, so I got out my acrylic Titanium white and highlighted some of the subtle lines from the printing.

A layer of lace over that and the clouds were just right!

Then it was time to add some stars to the sky.  This was a 3 day hand-beading extravaganza.
But then...how to quilt that???


I would never have attempted this on anything but my Sweet 16 from Handi Quilter.  The large bed made moving the quilt around easy during the free-motion sewing.

And the open toed foot made it easy to see "where I was going".  Somehow it just worked.  I didn't break a single bead or needle.  I love that Sweet 16!

This velvet bird was a cherished gift from Maureen Greason.  I didn't want to poke holes in it sewing it down, so I glued a piece of wool felt to the back of it, and sewed that instead.

When the top was all done and quilted, it was time to attach the trim borders.  The ones on the right won, after much auditioning.

You just cannot over-measure at this step.  I really took my time with this.

Wearing this machine quilting glove on my left hand really helped me move the quilt along as I sewed on the trim.

After this step I trimmed the batting and backing and just folded it in so it met the edge of the trim.  Then I whipstitched the whole thing closed. 

Let's see, at 8 stitches per inch, 36 inches per side times four sides...that is 1152 stitches plus corners.  But it is better than having to do conventional binding! I used lots and lots of pins, chatting with my sister as this step is kind of boring.

So here it is done.....

 This detail shows my blue bird of happiness, and the silver bird coming down from the stars...


 Here are the flowers growing, straight out of my heart....


And the entire Secret Garden, revealed......


Thursday, August 1, 2013

Broderie Perse CQ....Progress

July was spent traveling!
I have gotten it down, how to stitch while jammed in a middle seat on an airplane between two perfect strangers.

It's a matter of having all your threads in one plastic bag, and your tools in another, both on your lap with the stitching on the tray table.  Sharon Boggon's CQ stencils have been invaluable.
My Broderie Perse CQ has been the project of the summer.

I've actually gotten a fair amount done.
The stitching is very simple, almost spare.  This quilt has so many elements and is so busy already that the stitching has to play a supporting role, not a starring one.

I've been wondering how the heck I am going to quilt this.  I suppose I could tie it from the back.  This is going to be a functional bed quilt, so maybe it can be more like a comforter, with really nice puffy batting.   That could work!

Here is the whole quilt pinned up on the design wall.
I'm going to have to take it down for a few weeks though.  My dear friend Michele Muska is writing a book, and has asked me to contribute a project to it.
I won't be able to post about it, but here is my jumping off point.

You just know it's going to be a blast, working with these colors.

See you in a few weeks...and Happy August!


Monday, June 3, 2013

Broderie Perse Meets Crazy...Background Pieced

Well, it is mostly pieced!
But you can see what I am aiming for here...

Those white background fabrics will go all the way to the hexie frame, so it will look like it is on a whole cloth background.
I'll be hand embroidering the seams over the next many weeks...it's such a luxury to be able to spend so much time with one quilt again!

Thursday, May 30, 2013

Broderie Perse Meets Crazy Quilt...Progress

The rainiest May in years has yielded me extra time to work on this project.  And I am falling in love with it....I think I have always wanted to make this quilt!

A rainy day, the ballgame on my fancy new flatscreen TV, Facebook on my computer, crazy piecing on my table...I'm a happy girl.  (I see so many great quilts on Facebook.  I love it.)

As I've looked at this quilt on the wall I realized that the Broderie Perse floral arrangement needed a little tweaking.

Can you spot where I've pinned on a few more elements?  They are mostly to fill out the overall shape of the bouquet, make it a bit more balanced.

Once those hexies were appliqued on, it was time to start piecing the background area.  I don't want to distract or compete with the center focal point of the quilt, so decided to use basically all white fabrics.
Or maybe I've been influenced by all the Modern quilts I've been seeing lately: lots of white!

One of the biggest joys of crazy quilting, to me, is the way we can juxtapose so many different fabrics.  This little section has hankies, vintage and reproduction shirting, metallic silk brocade, a scrap from a '40's farmer's dress, cross stitch fragments, quilters' cotton, '70's lace edging, burlap; I get such a kick out of it.  There are pattern and a few glints of color, but in the end, this will read as white.

That piecing will extend right to the hexie border, so the background will (hopefully) be seen as whole cloth.  Going to start in on the long sides today...

Sunday, May 26, 2013

New Project: Broderie Perse Meets Crazy

These days I am wanting to return to my 40-years-of-quilting roots, using cottons. Who knows why?  Never question the Muse!  But I will always have handwork and crazy quilting involved in everything I make, in one way or another....

I spent years back in the day making Broderie Perse style wall hangings...you know, where you cut out a printed image and applique it onto a background fabric.  Well, I love and miss that technique so I decided to indulge in it for my new quilt.  It will be the focal point in the center.  I'm adding some other elements to it, too...have a look so far.

It started with a border I had on hand from another quilt that didn't get used, combining vintage blocks and fabrics--with a few repros mixed in--and some vintage hexies I got off Ebay...


So this sets the stage..
Next, see that floral fabric folded up on the floor beneath the quilt? It's been calling to me....(It too was an Ebay find...)


I fused some SoftFuse fusible web by Shades Textiles onto the back of the floral fabric before cutting.  This prevented fraying while cutting and then later, wrinkling or shifting when sewing.  I also used a new pair of pointy scissors.  Sharp scissors are a  must here.
I had my cut-out on a small mat that I could rotate and move around as I snipped, so I never had to move the fabric.  Keeping it flat helped prevent any stress on those fragile cut out stems.


Once it was fused onto the background fabric (which is a vintage table cloth, stabilized with fusible knit interfacing), the sewing began....I used YLI silk thread in the top in a new size #60 needle; the bobbin had a matching cotton machine embroidery thread.  My buttonhole stitch was set to 1.5 wide, 1.5 long, and away I went.


It got pretty detailed...but that is what makes Broderie Perse so special.  This rosebud is about 2 1/2" long.


All nice and sewn down, perfectly flat, no fraying...Yay! It measures about 16" wide by 21 1/2" long.

I'm making this the focal point of the quilt.


Next I need to applique that whole center section down onto a muslin foundation.  I cannot deal with those hexies any other way!  Plus, you know they're going to get buttonholed anyways...

The large white areas will be crazy-pieced with a great bundle of shirting from Newcastle Fabrics, "Margo's Favorite Shirtings".  (Scroll down on the link.)

And yes, I will EVEN quilt this!  That Sweet 16 is waiting, waiting....