It's been a prolific and wide-ranging year in the sewing room. I worked on more 'Quilt Renovations" (or "Palimpsests"), a raft of pillows, finished a couple major crazy quilts, and a memory quilt for a client.
I am thinking 2023 is going to see me shift towards a brighter palette...although there is one major project coming up that will use only actual antique fabrics, not reproductions-- from the mid to early 19th Century. I've been collecting them all year and will take the plunge next fall.
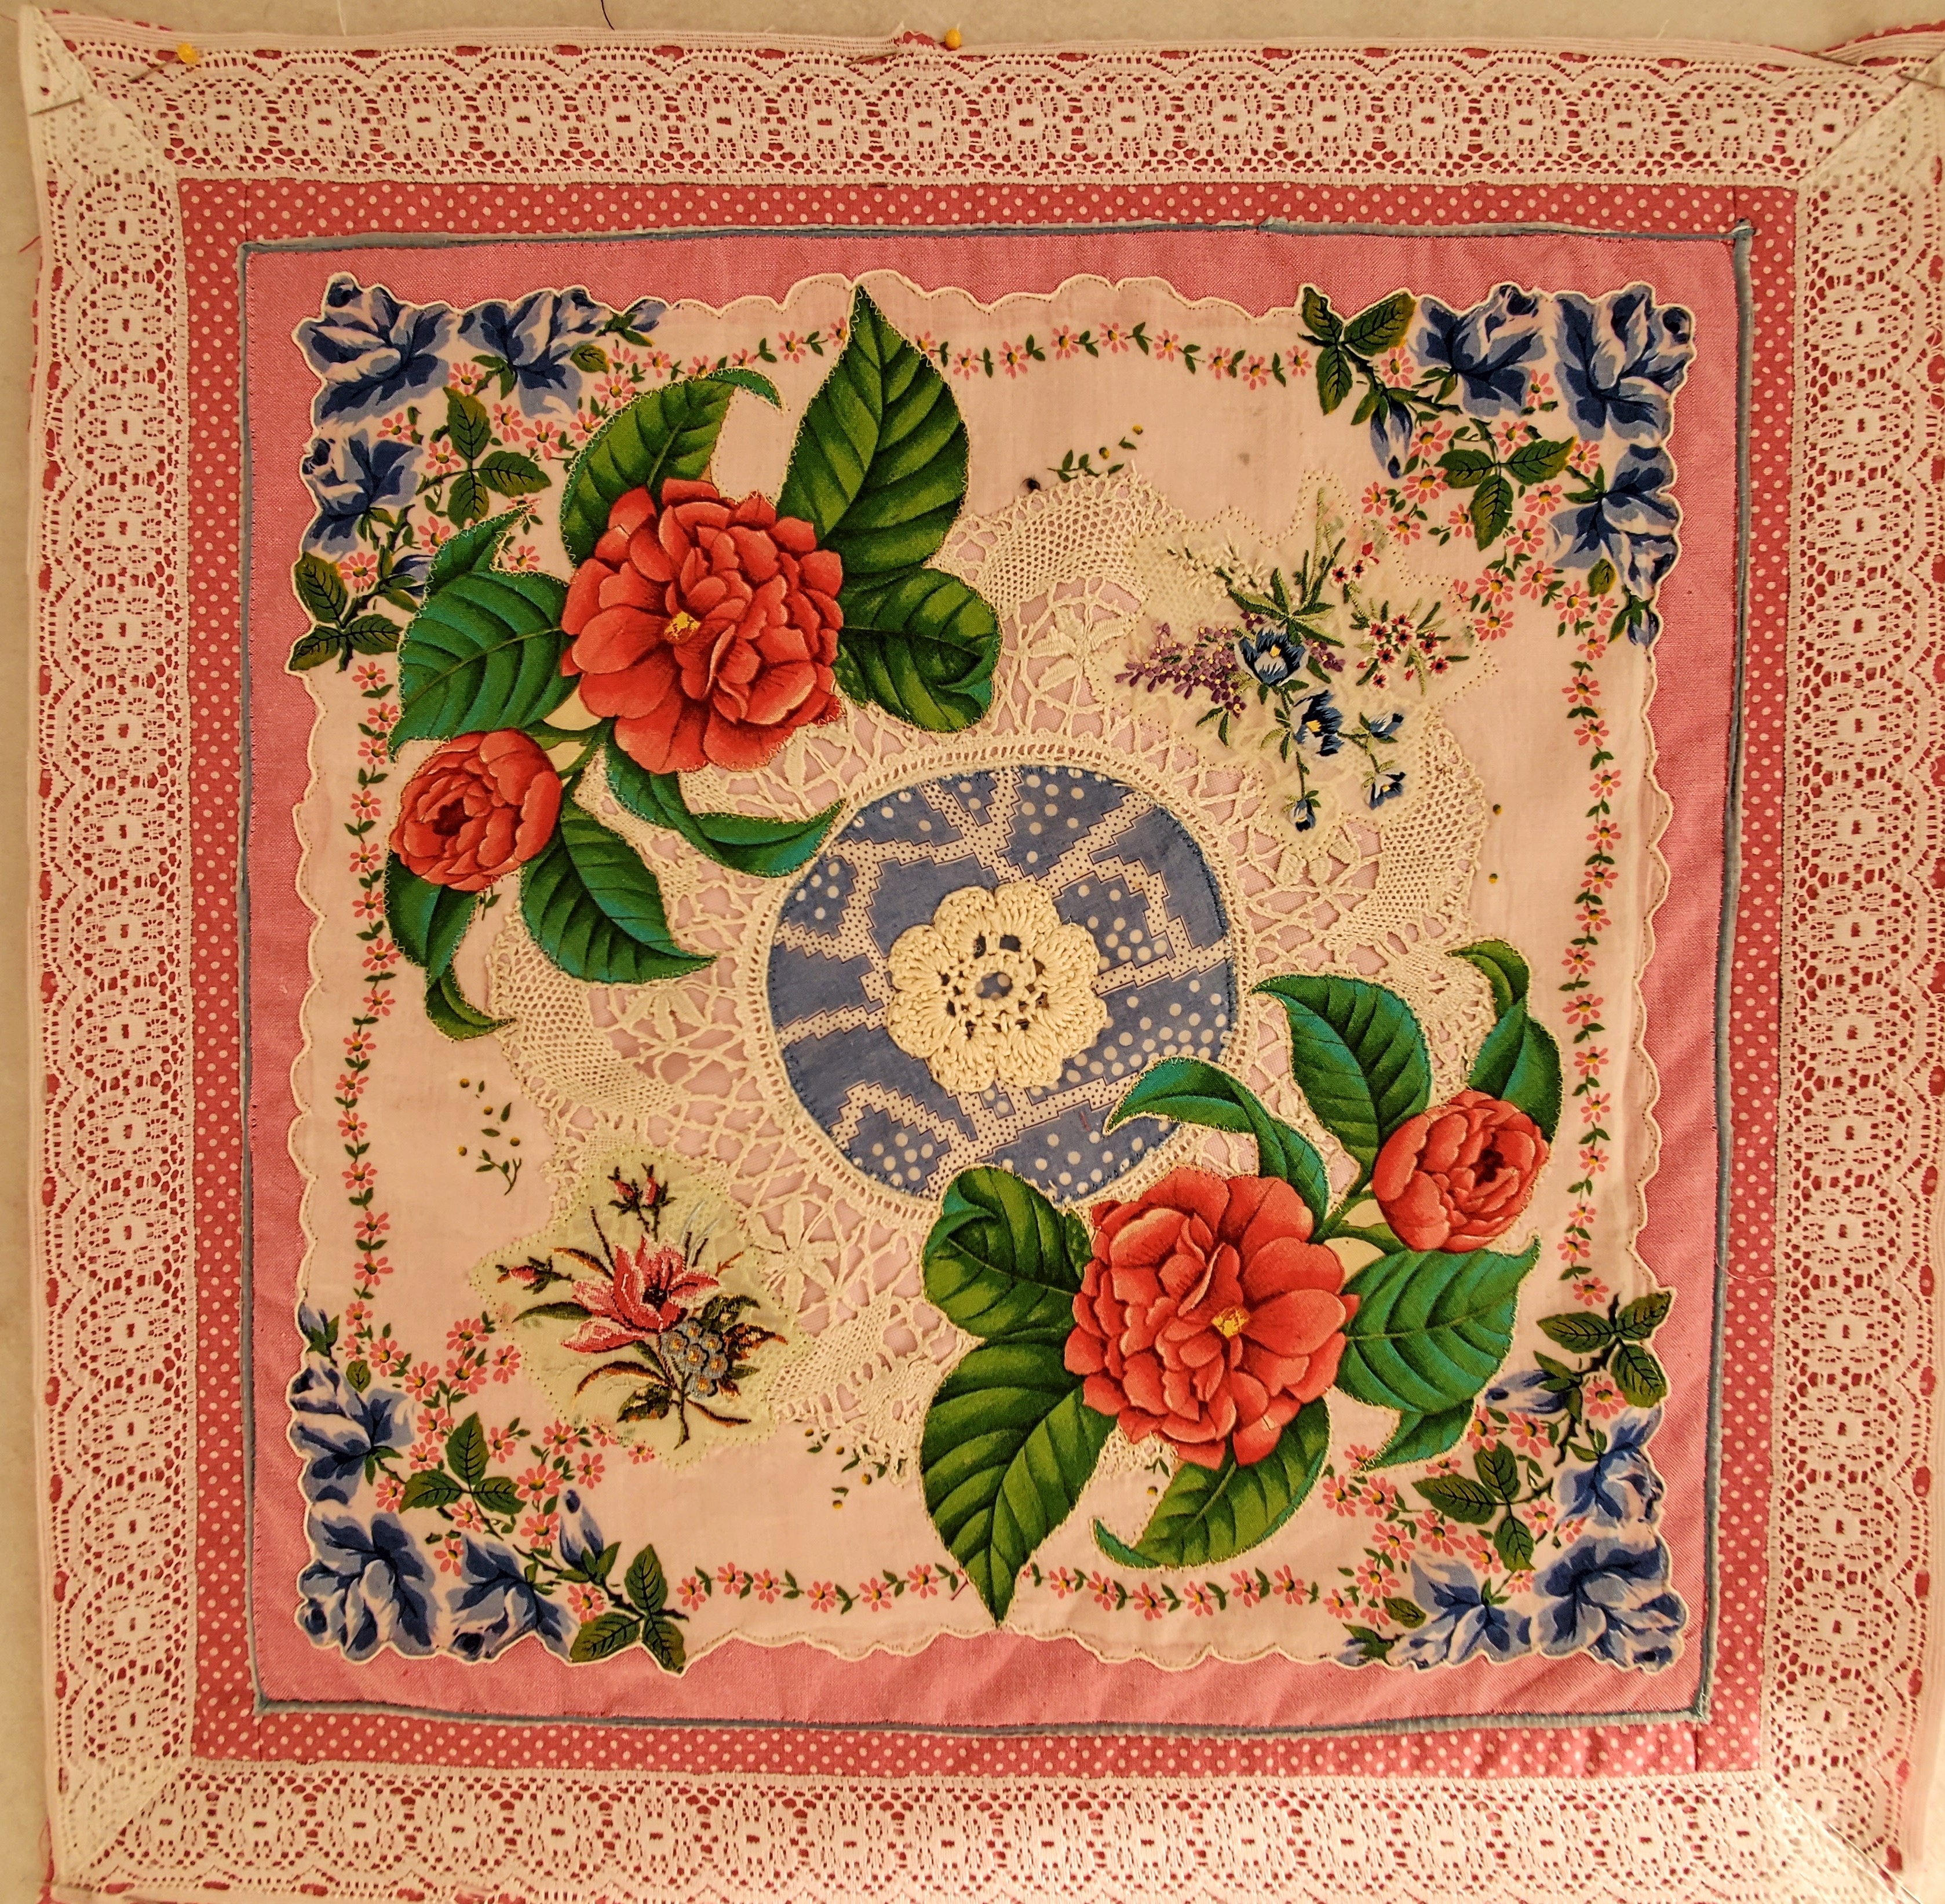
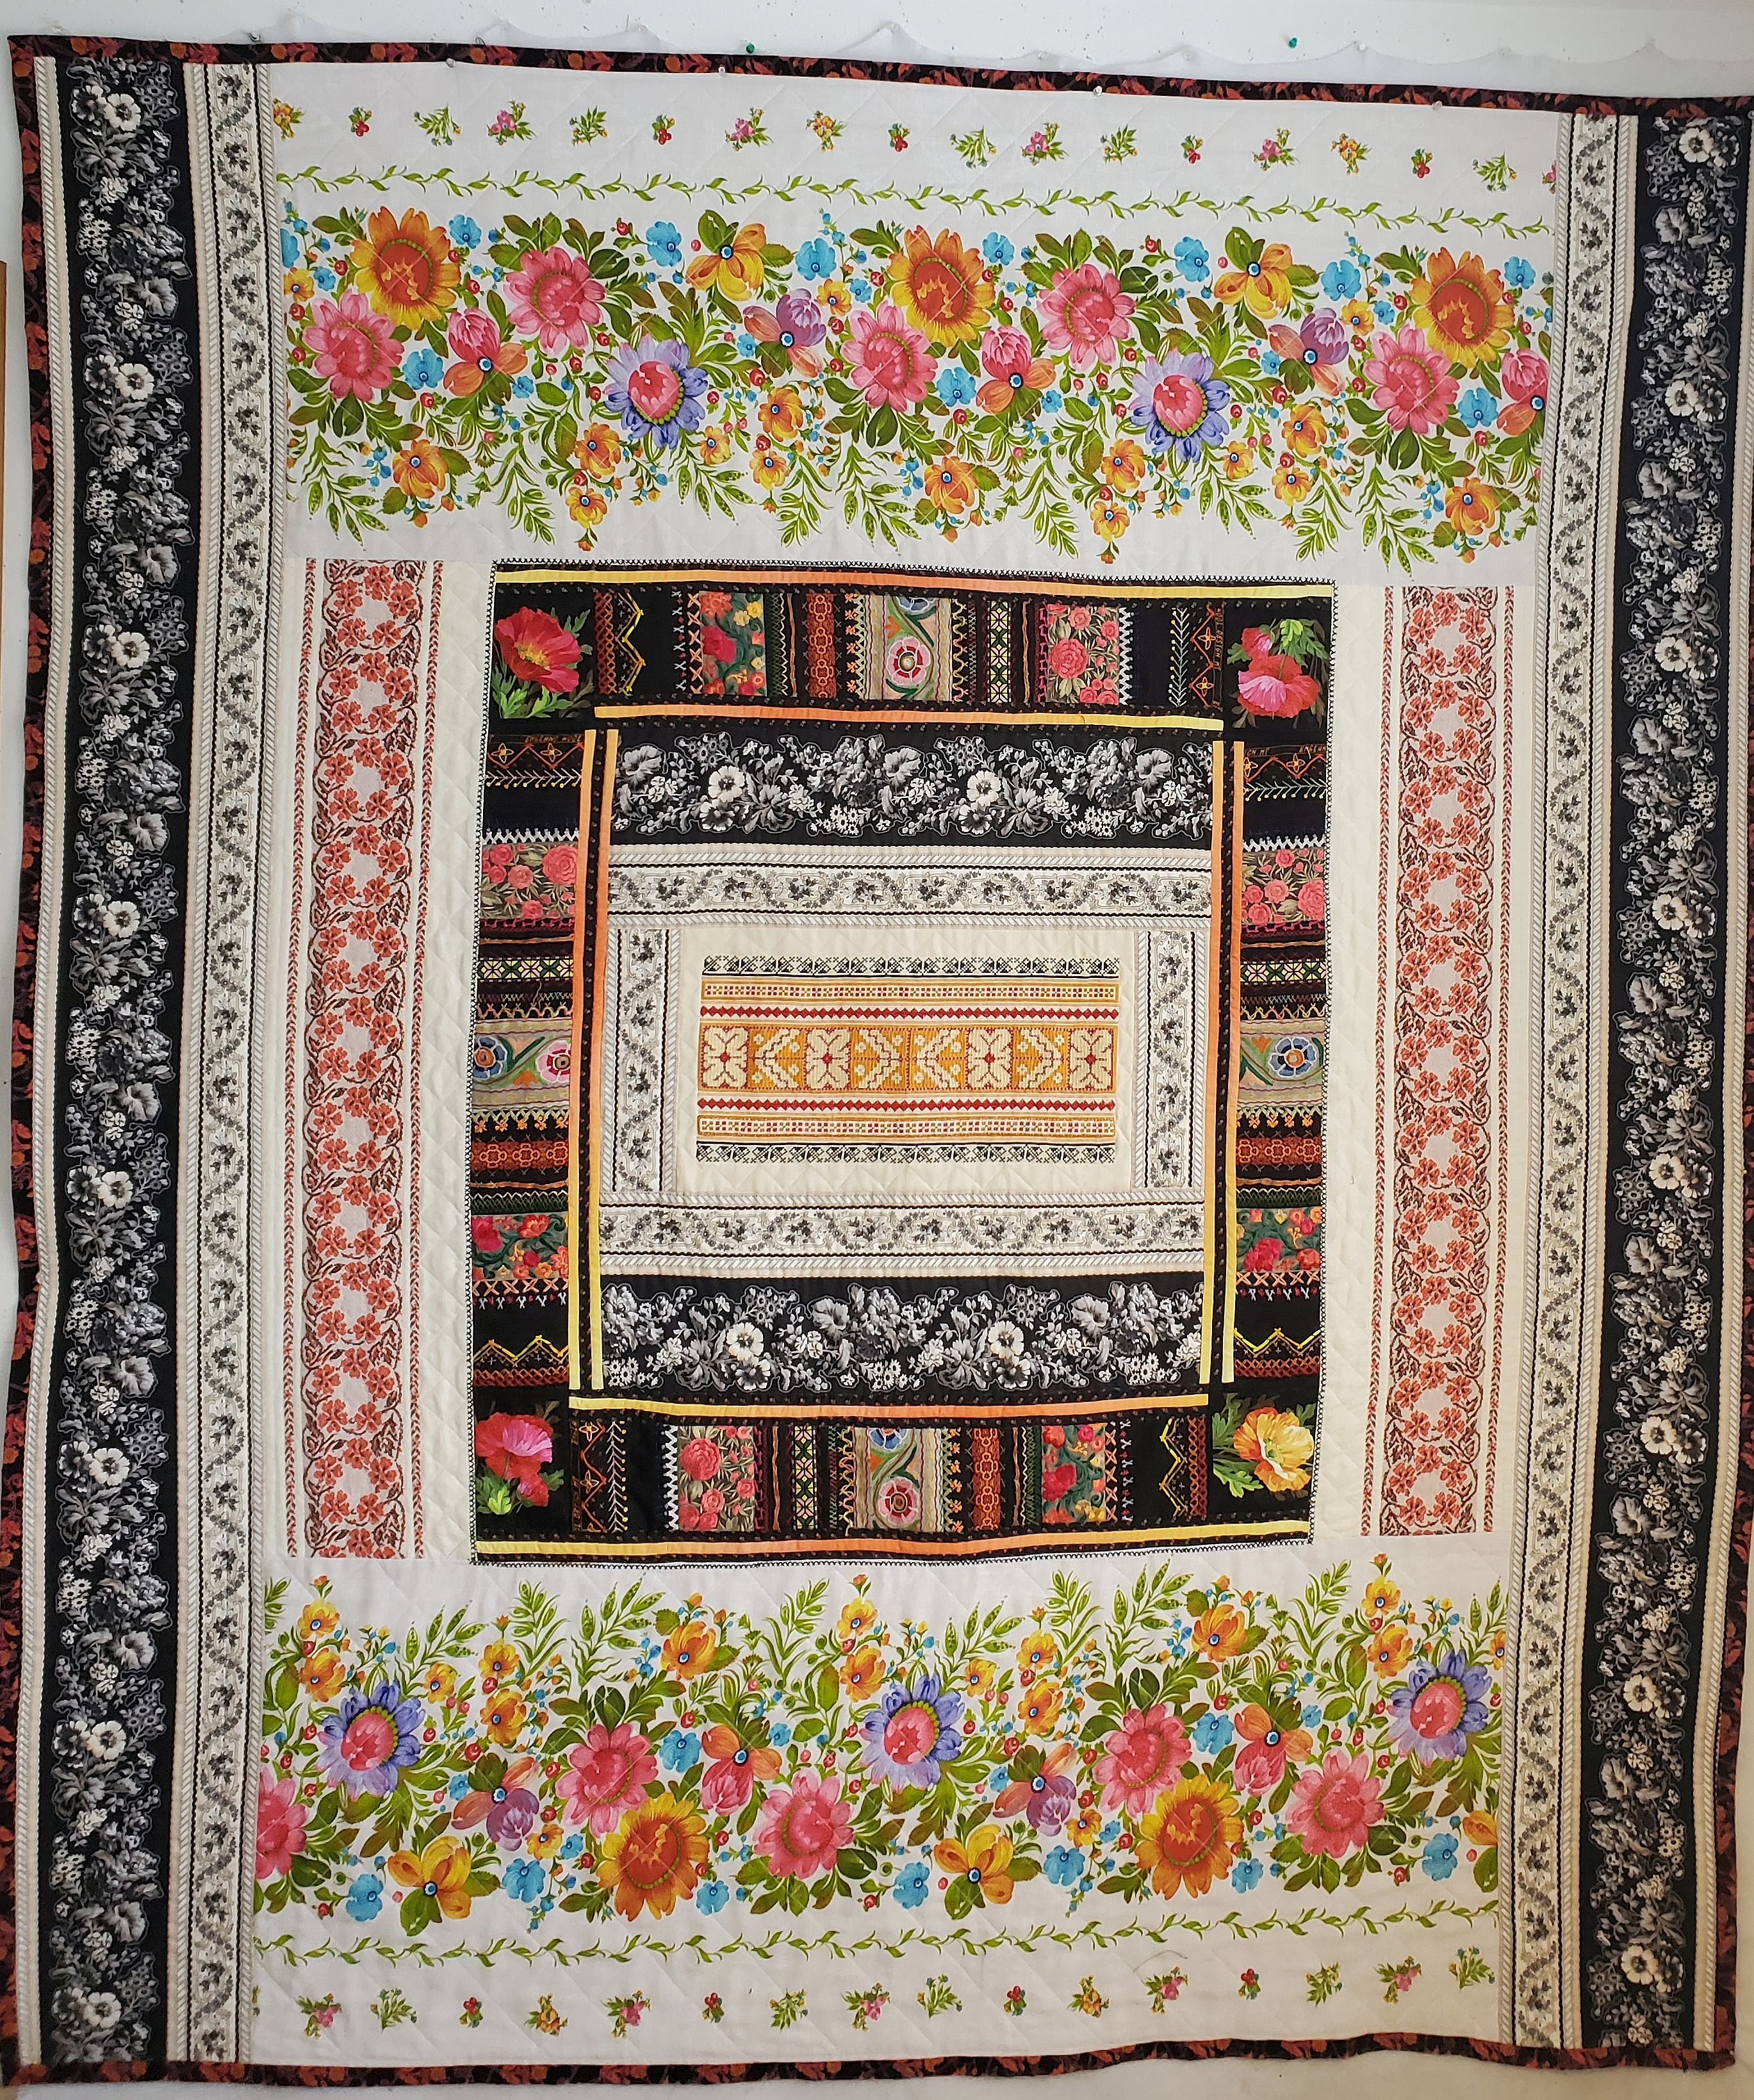
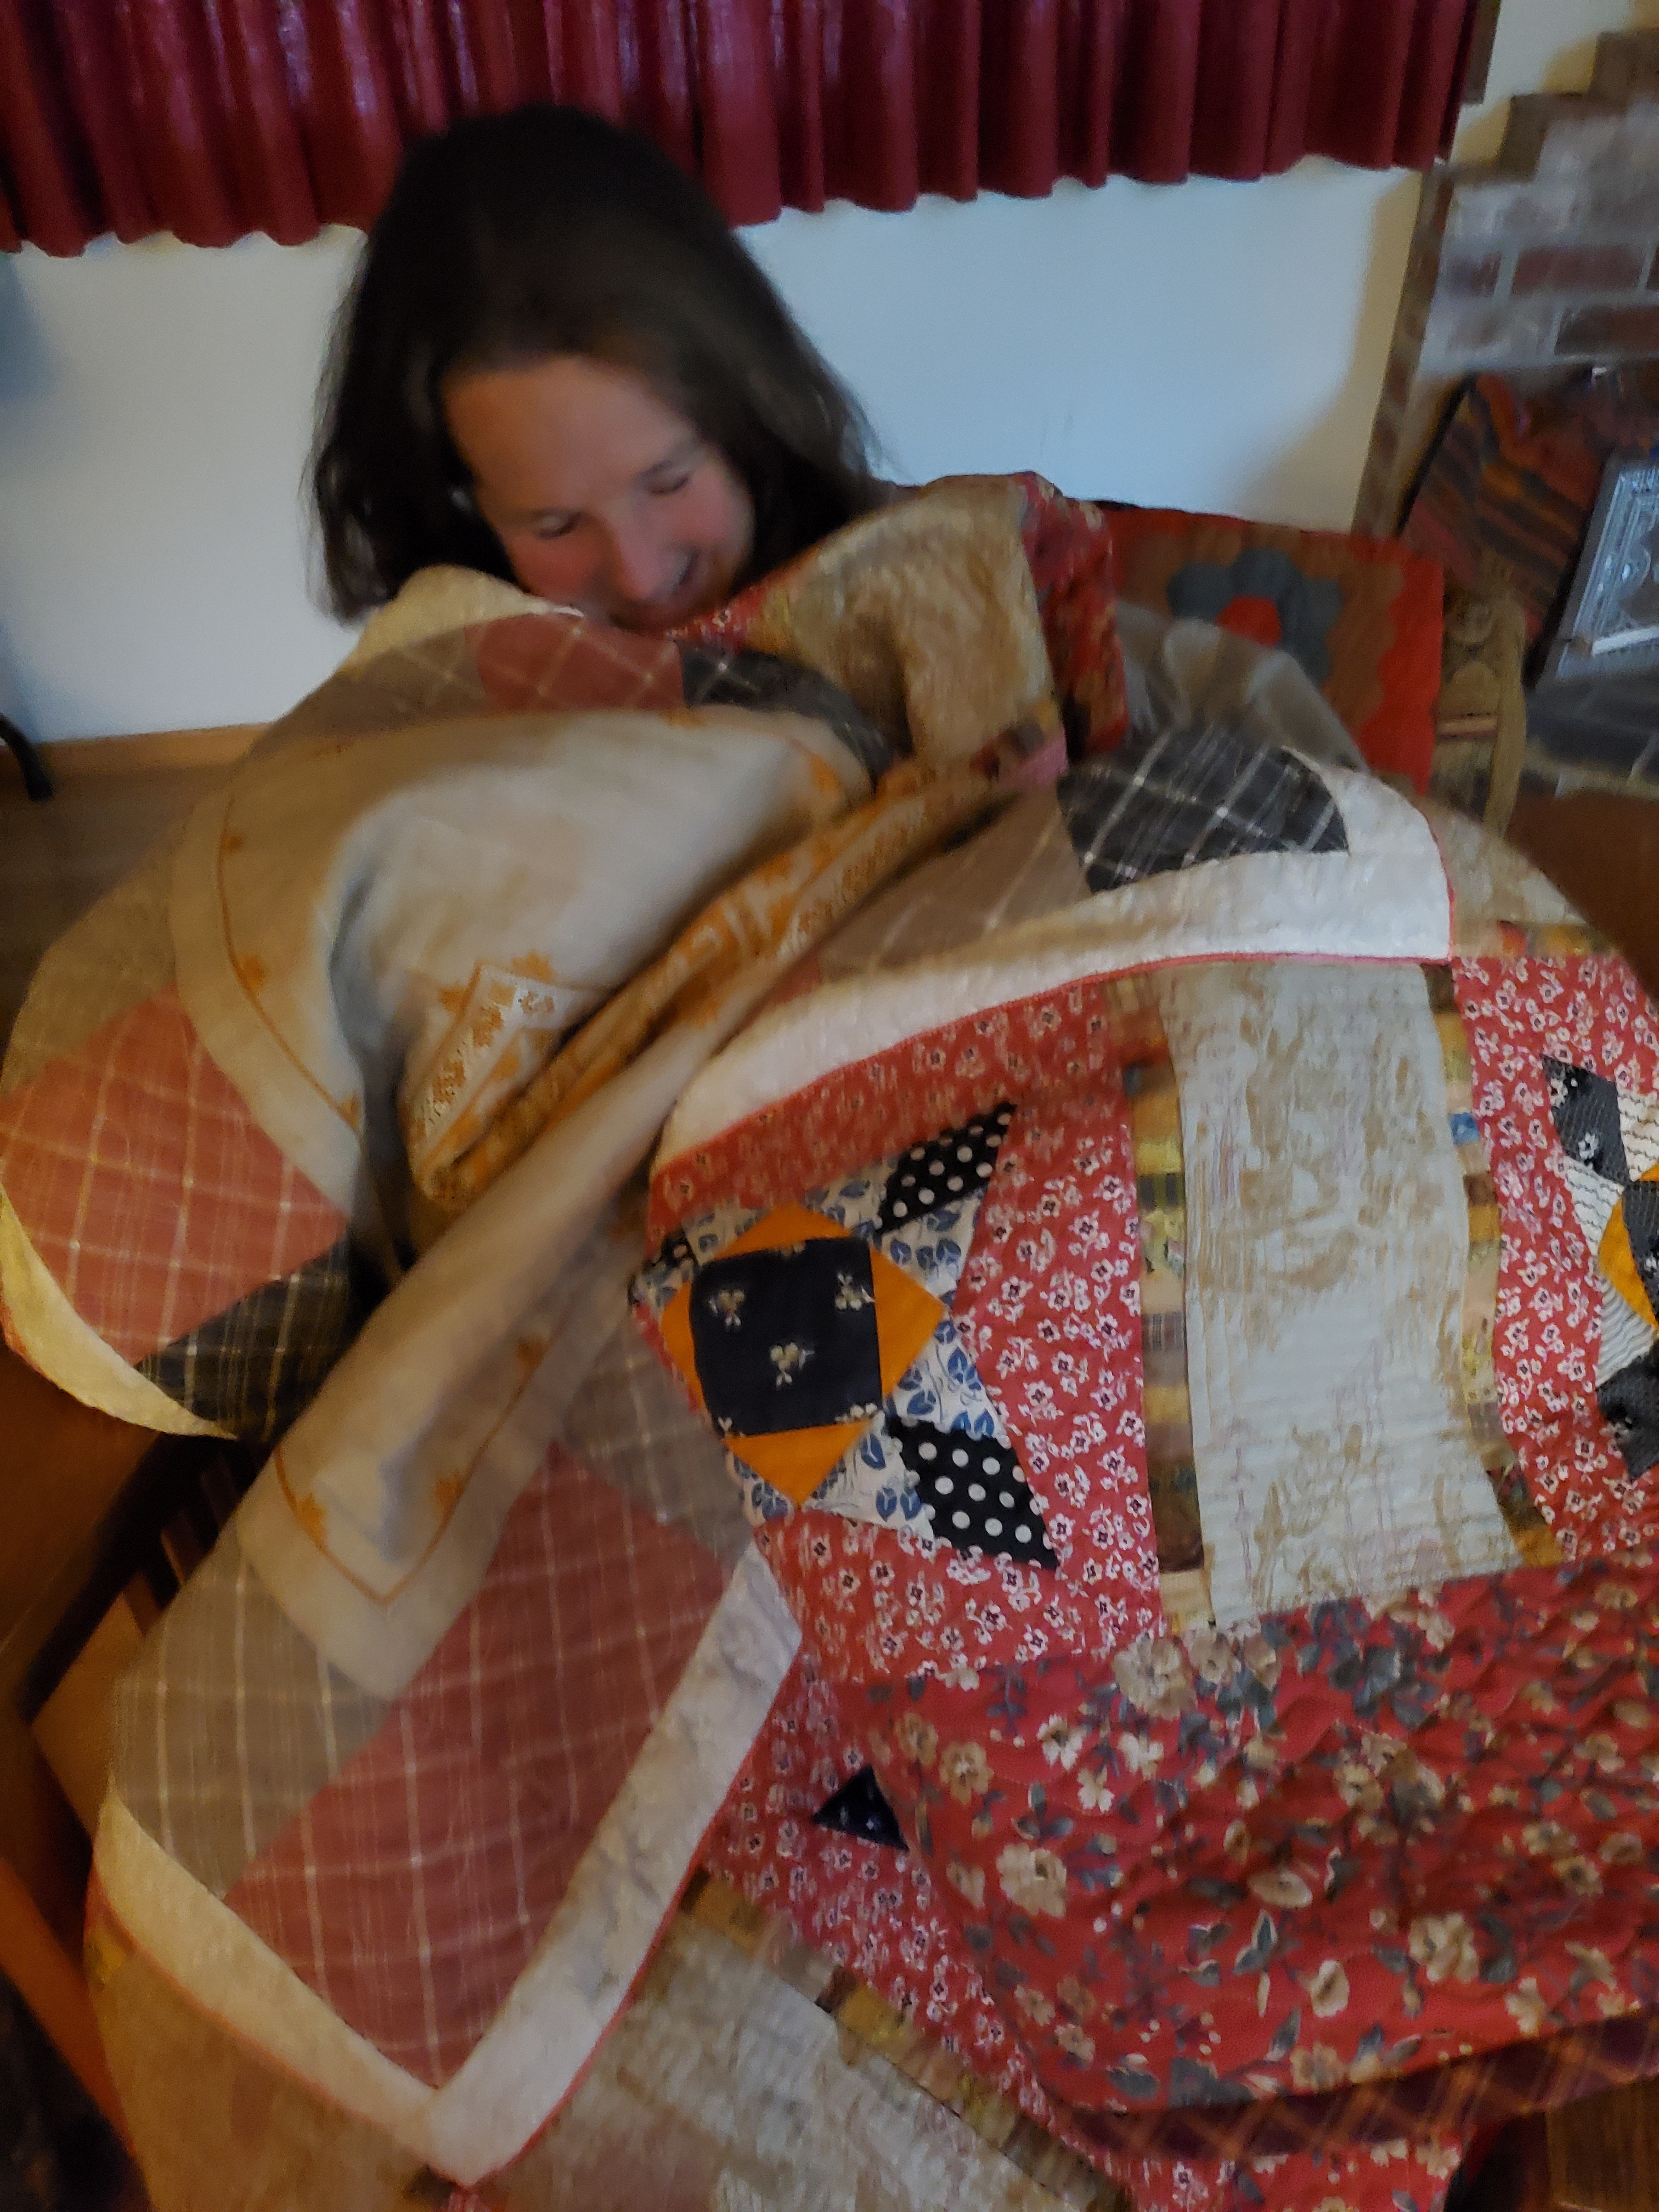
Meanwhile, in chronological order, the work of 2022. No captions, just photos of overall finishes, a few details, and a few of the projects in use.
Happy Sewing, Everyone!


.jpg)


.jpg)


