I finally got to finish this quilt!
I was most eager to see how that 38mm silk ribbon done in the herringbone around the perimeter of the quilt was going to look, acting as a visual "binding". I mean, it is there where the binding should be, isn't really binding at all, but suggests it.
Because this quilt:
a) is not for competition
b) has no weighty embellishments on it
c) used a woven "batting"
d) is for the wall, so is therefore not functional
I chose to use a very simple finishing technique on it that went super fast.
Here are the steps I took to do it.....
This is the back of the quilt top. You will notice the blocks have been interfaced before I embroidered them. The silk edge fabric I used for those big honking ribbon stitches was interfaced too.
My "batting", which is actually cotton drapery lining, much like flannel only spongier with a looser weave, is draped over the quilt top.
I love this stuff for crazy quilts and use it all the time. It is flat not puffy, and the weave gives a nice internal structural support to the quilt. It is cheap and easy to work with too. I get it at Fabric Depot in Portland.
For the backing I used some positively lovely shirting fabric that I got for $8/yard at a men's ties outlet store. This is very, very smooth and finely woven cotton. I pinned it all together with just a few safety pins.
You can see where I am going with this! After the drapery lining was cut to size (to reach just to the edge of the brown ribbon herringbone stitching), I ironed the shirting fabric over the edge of the batting.
I folded the extra silk fabric beyond the stitching to the inside of the top.
Then I whipstitched the folded edges together.
On the back, I just sewed four buttons to keep the layers together, located at the four corners of the center block. Here you can see that my button stitching is "in the ditch", through to the front at the intersection of the corners, and hence won't show.
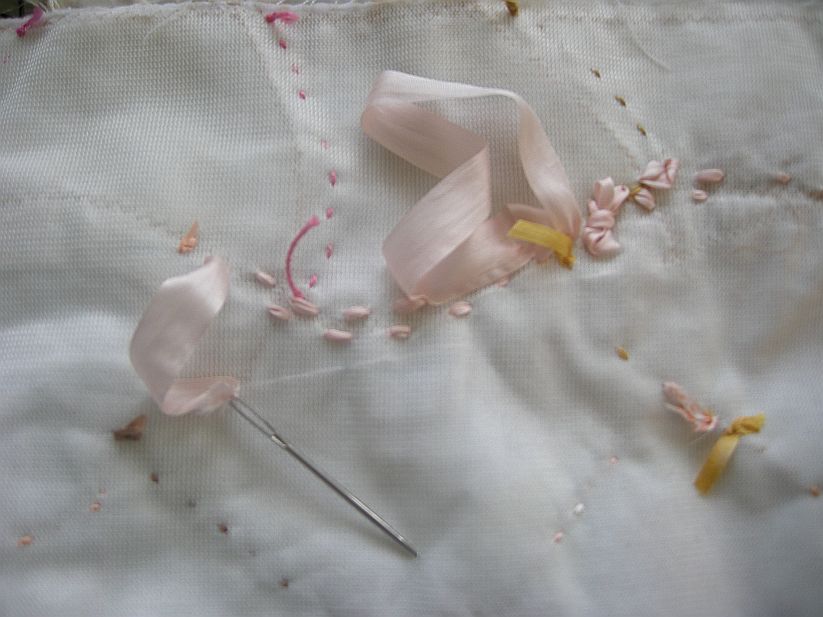
Poking the needle back through to the back here.
Just four buttons, I told you this was fast!
I put a sleeve on it too...
Now the front edge looks like this:
It definitely has an unusual look to it!
I like it. ;-)
And I am glad to cross this project off my "to do" list.
I'll be teaching this block at Road to California next January. Registration begins July 8th!
Showing posts with label Project: Herringbone Hearts. Show all posts
Monday, July 2, 2012
Tuesday, February 14, 2012
Happy St. Valentine's Day!
....and...
Don't miss Barbara Brackman's post today about the Hearts and Gizzards pattern that was my inspiration for the plaid Go Crazy quilt...
Saturday, February 4, 2012
13mm Silk Ribbon Herringbone...A Tutorial
I've heard from quite a few people wanting to know about puffy ribbon herringbone....so here is how I do it!
To surround each heart in the 9 blocks in "Herringbone Hearts", I used 5.5 yards of ribbon to stitch the 40" around each heart. Let's see.....that is 360 inches stitched! Right as I was finishing up the last one, I took some photos to show you.
This shows a stitch being made. It is important to make sure that ribbon doesn't twist as you pull it through.
I just use my scissors as a laying tool, pulling the ribbon through with my left hand while tugging gently in the opposite direction with the scissors. The laying tool enables you to keep some "loft" in your stitch. You don't want to pull the ribbon too taught, or it will flatten out. The 4mm ribbon herringbone you see stitched along the seam lines within the heart was meant to be flat.
Pulling the needle through all those layers of cloth is made much easier using a pair of pliers. My embroidery students all know I give out pliers in class for them to keep. ;-)
Whoops! This is what happens if you don't pull your ribbon through all the way to the front and keep stitching: you get a loop and you've wasted precious ribbon! So always check on the back that you've pulled your ribbon all the way, without making it too tight of course.
This is how I add the next length of ribbon. I've cut off my needle from the previous length and left a "tag" end of about an inch (you don't need that much though.) With my next length threaded and locked onto my needle, I pierce through the tag end, into the block (but not all the way through to the front, so this won't show).
I pull the ribbon through, and then pierce the very end of it with my needle.
After I've pulled it through, it looks like this. Not beautiful, but there is no knot. All these layers of ribbon lie flat, and don't have enough bulk to matter. I am ready to keep stitching.
One more point I want to make: be careful that you don't pierce the ribbon accidentally as you stitch. It definitely messes things up if you do, so give a care and make sure you have just gone through the block fabric, not catching any ribbon.
(By the way, back of the block has some fusible knit interfacing on it. I always interface my blocks before I stitch on them.)
Coming down the home stretch here! 355 inches done, 5 to go....
And finished!
Ah..... my hands need a rest.
Now to join all the blocks together. And yes, there will be herringbone over the blocks' seams where they've been sewn together, but not in ribbon, thank goodness. Stitching with thread will feel like a breeze!
Wednesday, February 1, 2012
Herringbone Hearts
I decided to change the name of this 9 block heart project because the only stitch I am using is the herringbone.
I am starting to get to know this stitch...have you ever heard about how in music conservatories, beginning students are told to play just one note over and over for long periods, so that they can gradually learn to hear the whole spectrum of sounds within it? I am feeling a little like that with this stitch: the repetition is teaching me about embroidery in a new way. The herringbone has yet to reveal itself entirely to me...or maybe...I just love the herringbone stitch the best!
Anyway, I am almost done embroidering all nine hearts, but it has been awhile since I posted, so here is one of the finished ones...
I do love that 13mm silk ribbon from River Silks around the perimeter of the heart! One spool just barely makes it all the way around...
Back to my herringbone now.... ;-)
Subscribe to:
Posts
(
Atom
)


