Showing posts with label techniques: crazy quilt collage. Show all posts

Tuesday, December 9, 2014

"My Secret Garden" project...finished!

This quilt is for the Personal Apps exhibit at the upcoming Road 2 California quilt conference in Ontario, CA next month.

The exhibit is here described:

Personal Apps
An App is defined as an application, typically a small, specialized program downloaded onto mobile devices. Artists invited to participate in this exhibit have created small quilts that represents them as an individual. The quilts show an aspect of their life or their identity. Curated by Matt Reese and Stevii Graves. 


Each quilt is to be 36" X 36".

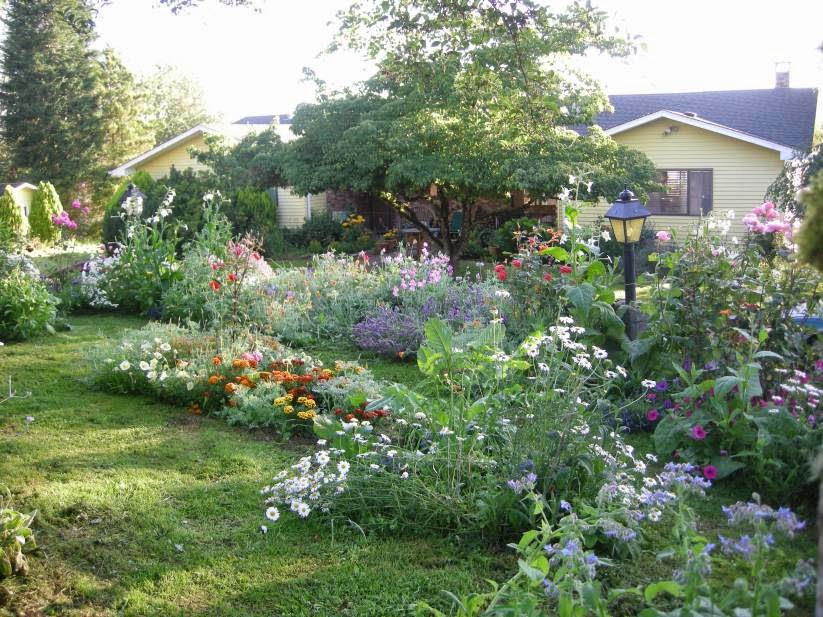
Gardening makes me so happy.....so I guess that is a major aspect of my life and identity.

Last summer's garden really gave me so much joy.

What follows is a pictorial chronology of my quilt's construction over the last month...

It started with my review of Sue Reno's DVD on surface design.  You can read about it in this post.
I knew I wanted some lacy clouds, so with Sue's guidance, I printed some, using acrylic paint mixed with fabric extender.

I printed up a bunch.

I also painted some flowers, both pre-made fabric flowers and fussy cut printed flowers from quilters' cottons.  

 I'm so glad Sue's DVD encouraged me to get out those paints!

Then I began my initial lay-out....

The finished quilt actually bears quite a resemblance to this!

The foreground and sky sections were appliqued over a muslin foundation first--then I started adding layers of clouds.  That vintage delicate doily was meant to be the sun...

After this sky area was settled, the garden was laid out the same way, with a few large swaths of green.

Then the layers of flowers went on.

This photo shows a few of the techniques I used for the garden.

I did most of the embellishment work by machine, though.  Those large three dimensional daisies are vintage appliques.

After some initial quilting in the sky, I decided the clouds needed more texture, so I got out my acrylic Titanium white and highlighted some of the subtle lines from the printing.

A layer of lace over that and the clouds were just right!

Then it was time to add some stars to the sky.  This was a 3 day hand-beading extravaganza.
But then...how to quilt that???


I would never have attempted this on anything but my Sweet 16 from Handi Quilter.  The large bed made moving the quilt around easy during the free-motion sewing.

And the open toed foot made it easy to see "where I was going".  Somehow it just worked.  I didn't break a single bead or needle.  I love that Sweet 16!

This velvet bird was a cherished gift from Maureen Greason.  I didn't want to poke holes in it sewing it down, so I glued a piece of wool felt to the back of it, and sewed that instead.

When the top was all done and quilted, it was time to attach the trim borders.  The ones on the right won, after much auditioning.

You just cannot over-measure at this step.  I really took my time with this.

Wearing this machine quilting glove on my left hand really helped me move the quilt along as I sewed on the trim.

After this step I trimmed the batting and backing and just folded it in so it met the edge of the trim.  Then I whipstitched the whole thing closed. 

Let's see, at 8 stitches per inch, 36 inches per side times four sides...that is 1152 stitches plus corners.  But it is better than having to do conventional binding! I used lots and lots of pins, chatting with my sister as this step is kind of boring.

So here it is done.....

 This detail shows my blue bird of happiness, and the silver bird coming down from the stars...


 Here are the flowers growing, straight out of my heart....


And the entire Secret Garden, revealed......


Saturday, August 31, 2013

He's Leaving Home....Chad's Quilt and Pillow

Our son Chad has managed to buck the trend, and after spending 4 months back with us after graduating from the University of Washington, has gotten a really great job and moved into his own apartment.  It is 25 minutes away...not too far, but 5 minutes away would have been better! 
For a housewarming present I made him a large throw quilt and pillow for his handsome new couch.
Here is how it went:

He wanted an Asian them and warm colors; I got permission to add a few spikes of blue. That pile of white fabric you see above the iron is leftover muslin squares and rectangles from other projects; I figured I'd use them up.
This resulted in the quilt's lay-out, which I like very much!  Couldn't have thought it up myself otherwise.

Here they all are pinned up on the design wall.  After doing some beginning "piecing"--it is really Intuitive Applique, Method 4 in my Craftsy class--I decided to pin up some major elements like the large chunks and the blue bits so that down the line the quilt would actually have a bit of balance.

Moving right along here!

Once I started sewing it together, I got a sense that this quilt was really going to work ok!  I loved using fabrics from my stash...silks from our trip to India, Kimono silks from a generous student, sample linen from a friend, quilters' cotton, some trims I'd gathered along the way...I loved putting them all together.

I found this scrap in the bottom of my brown/black bin where it had been waiting for years....

Squaring up the blocks...

.....gave me lots of trimmings!

The top was really pretty easy to assemble.

It looks formal here, but it is about to be transformed into a snuggly couch quilt!

But first I decided to make a co-ordinating pillow from some of the scraps.  I used a fairly uniform mid-value and stayed with the gold/orange part of the palette.
What you see here are scraps that have had their overlapping edges ironed under.  Those ironed edges then received a light smear of Tacky Glue and then each piece was just smoothed into place on a muslin foundation.  Collage work, very fast, very fun.

 The glued patches were totally secured into place with the quilting; I'd spray basted my collage onto a piece of flannel drapery lining and then around and around I went on my Sweet 16.

It finished out at 20" X 20", with a black linen back....to match Chad's couch, of course!

OK, back to the quilt.  I wanted it to be cozy, so for the backing I used a plush microfiber throw that I got on Amazon.
It made for a wonderfully functional throw, too!  Colorful and kind of classy on top, cozy and yummy on the underside, lightweight but warm.

Quilting on such a stretchy back did distort that perfect rectangular quilt top though.  Gotta work on that for next time...

  Pretty cozy looking, isn't it?  ;-)

It was very fun, delivering them....

....and so satisfying, seeing them in use.

Makes it easier, having an Empty Nest, knowing my fledgling's nest has a comfy quilt in it.

Next up, a baby quilt for my great nephew!  Sewing for publication is very rewarding, but sewing for family is the best...


Friday, June 8, 2012

A CQ Scrap Experiment

I was lucky at Empty Spools to visit the classroom of Susan Carlson...you all know her work, she is amazing.  Her collaged fabric quilts are fabulous...just think "pink rhinoceros" and you know who I mean!

Watching her students working and collaging their fabrics made me wonder why I couldn't adapt the method to crazy quilting.  Experimental crazy quilting....

Why not just adhere my scraps onto foundation with a little bit of glue?

You can see the scale here is quite small.  My foundation muslin is 6 1/2" X 10 1/2".
These scraps are the little precious bits from my Moon over Hood project that I could not throw away.

They are all laid out with overlapping edges...but just held in place with a little glue in the center of each patch.  The edges of the fabrics are trimmed, but raw.
This was obviously quite fast.

The real experiment was to find out how adding machine embroidery on the seams--in crazy quilt fashion--would look, and how well it would secure the edges of the fabrics.

I think it worked great!!!
I used Aurofil machine threads in a size #12, and some of the built in stitches on my old Pfaff machine....nothing fancy. 

For a quick project using your precious scraps, this is pretty darn fun.  Try it, you'll like it!

Thursday, February 9, 2012

Cowgirl C.Q.

I started this project last fall in my Curved Piecing class at the Victorian Stitchery Retreat.  When I got home, I did more work on it, which you can read about here and here.
While I was waiting for some ribbon to arrive for completing my Herringbone Hearts project, I decided to add to what I am now calling my Cowgirl C.Q.

I call it that because it is inspired by my cousin Tracy, a cowgirl down in New Mexico.  A few of the fabrics are from her, including one of her old shirts.  The vintage fabrics and blocks mixed in with the reproduction fabrics and the denim is an aesthetic that definitely reminds me of Tracy...

So I got out the fabrics that I used last time and added a few more that evoke Tracy to me, and got to work. 

Here is my pieced chunk, most of the way done.  I use a basic collage technique to add my patches, pinning them in place and sewing them down with clear thread in a zig zag applique.  This chunk is about 18" X 31".
When it was done, I cut it in half and added it to my project from November.
Now it looks like this:

It has been great fun using some of my burgeoning trim stash, as well as treasured bit of lace I've had a long time.  Some of my husband's worn out clothes contributed fabric too (that red and black plaid is from an old flannel shirt from our dairy days.)  And of course, a few butterflies flew in....


The ribbon has arrived so I will put this away again for now, but it's nice to know it is waiting for me....

Tuesday, November 22, 2011

CQ Strips

That class sample from the last post wasn't meant to stand alone...There are several options for cutting up a whole cloth collage/appliqued CQ...into borders, into blocks....or into strips, to be alternated with fabric strips.

I just thought denim would be good here, some of my husband's jeans that wore out over the summer.  And lace of course, along with.

I don't have time to sew this up before leaving for our family Thanksgiving get together in California tomorrow...but I think it will make a really neat pillow when I get home.

Meanwhile, have a lovely holiday everyone...and thanks for being so kind to come visit me here.....xoxo

Friday, November 18, 2011

Sewing Table Retrofit

Fall has definitely progressed while I was away.....I had wonderful travels, and have more ahead of me over the next 2 weeks...but for now I am back in the saddle here at home in the sewing room and loving it.

Before I begin quilting all of the quilts for Mark's family, I just had to finish up the curved piecing sample I started in class in Wichita.  I loved the fabrics and colors and couldn't tear myself away from them.

I am really enjoying this collage applique style of crazy block construction.  It is so totally right brain and free form.
And it doesn't take long.

This measures 18"X 22".
Some detail shots.....

Apparently some of my vintage blocks and fabrics are finding their way into the mix these days.

And I am very glad to see them!

But now it is time to get those quilts for Mark's family completed.  I knew that I needed the best possible surface for quilting these, but I don't have a recessed sewing machine table.  What to do?
I found my answer on Squidoo.  My humble and heartfelt thanks go out to Alaskan quilter Marguerita McManus, who has some YouTubes up about how to make a foam core sewing table.  This is such a brilliant solution!!!!

With the foam core and heavy vinyl sheet over it, I have a large flat slippery surface flush with my needle on the old Juki.

Admittedly it is not the most elegant solution, but it works great and was very inexpensive!

And so it begins.....a long quilting journey over the five quilts.  Mark, Lee, Manny, Don, Madison and Ashley will keep me good company along the way....