Well, I finally got around to trying it out, and it worked just great for my purpose--which was to create some carrot tops for those vintage millinery carrots going on to my Soil and Sky quilt for the Alliance for American Quilts.
Here is how it all went!
 You have to wind the bobbin by hand, which doesn't take long because the thread is bulky. This is chenille from a weaving store up in Seattle.
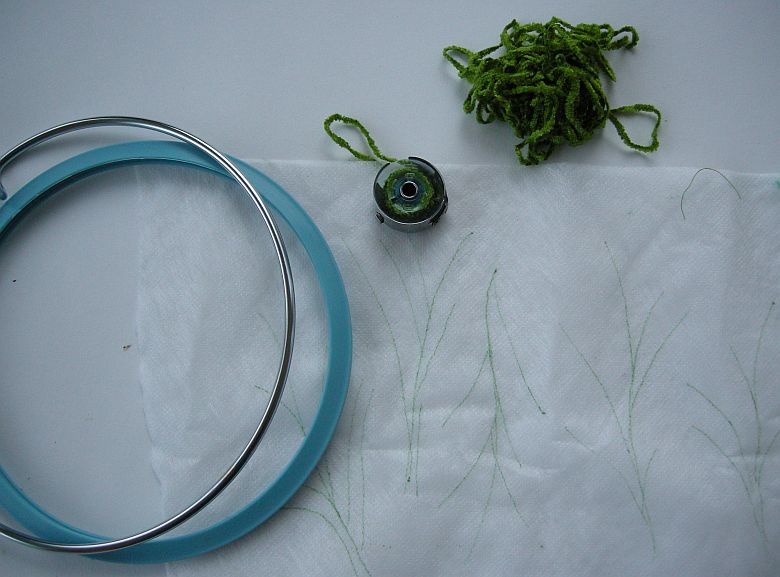 I am using a water soluble stabilizer, which has my carrot tops sketched on it. I put it in the machine embroidery hoop you see on the left.
 With the bobbin quite loose and the top medium tight, I used a 3.5 straight stitch with a #80 quilting needle and some variegated quilting thread on top. It went quite well.
 Once the chenille was all sewn on, I flipped over the stabilizer so I could sew the next layer of thread from the top. I swapped back to my normal bobbin case too.
 This is silk thread by Guterman on top with a fine cotton embroidery thread on the bottom. I did have to loosen up the top tension, and I changed my stitch to a 2.0 zig zag. This will give some structural integrity to my little carrot tops when they have their bath.
 Which is the step after this one, where I have cut away as much of the stabilizer as possible before dunking my little tops in some warm water and swishing them around.
When they come out of the bath, there is no more stabilizer!
 Here the tops are being glued to the wire coming out the top of each carrot. When it comes time to sew them on, I will just hand-whip stitch those feathery leaves onto the background, about halfway up their length. I want to leave the tips free.
 But first some some embroidery needs to go on here before attaching the carrots, as they would get in the way of my stitching.
They were fun to make though, and I can't wait to plant them!


